No edit summary |
Souf (Message Wall | contribs) mNo edit summary Tags: Visual edit apiedit |
||
| Line 12: | Line 12: | ||
Here is a list of furniture that will either activate quests, or give you items: |
Here is a list of furniture that will either activate quests, or give you items: |
||
| − | {| |
+ | {| width="75%" border="0" cellpadding="2" cellspacing="2" |
| − | |- |
+ | |- bgcolor="#ffdead" |
| − | !width="20%"|Furniture |
+ | ! width="20%" |Furniture |
| − | !width="20%"|Requirement |
+ | ! width="20%" |Requirement |
| − | !width="20%"|Quest |
+ | ! width="20%" |Quest |
| − | !width="40%"|Reward |
+ | ! width="40%" |Reward |
| − | |- |
+ | |- bgcolor="#e3e6ff" |
|[[Armoire]] |
|[[Armoire]] |
||
|Reputation 7 |
|Reputation 7 |
||
|N/A |
|N/A |
||
|[[Protect IV|Scroll of Protect IV]] |
|[[Protect IV|Scroll of Protect IV]] |
||
| − | |- |
+ | |- bgcolor="#e3e6ff" |
|[[Bastokan Tree]] |
|[[Bastokan Tree]] |
||
|Own a [[Dream Hat]]{{verification}} |
|Own a [[Dream Hat]]{{verification}} |
||
|[[Starlight Celebration]] |
|[[Starlight Celebration]] |
||
|[[Dream Hat +1]] |
|[[Dream Hat +1]] |
||
| − | |- |
+ | |- bgcolor="#e3e6ff" |
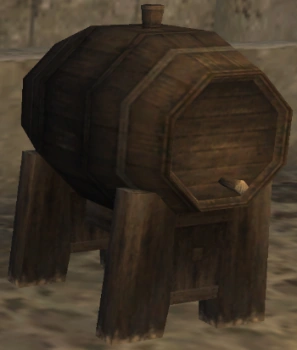
|[[Beverage Barrel]] |
|[[Beverage Barrel]] |
||
|[[Talk:Furniture Quest|Frequency dependent on national rank.]] |
|[[Talk:Furniture Quest|Frequency dependent on national rank.]] |
||
|N/A |
|N/A |
||
|[[Grape Juice]] |
|[[Grape Juice]] |
||
| − | |- |
+ | |- bgcolor="#e3e6ff" |
|[[Bronze Bed]] |
|[[Bronze Bed]] |
||
|Reputation 3 |
|Reputation 3 |
||
|[[Give a Moogle a Break]] |
|[[Give a Moogle a Break]] |
||
|Increases Mog Safe capacity to 60 |
|Increases Mog Safe capacity to 60 |
||
| − | |- |
+ | |- bgcolor="#e3e6ff" |
|[[Bureau]] |
|[[Bureau]] |
||
|{{Information Needed}} |
|{{Information Needed}} |
||
|N/A |
|N/A |
||
|[[Protectra IV|Scroll of Protectra IV]] |
|[[Protectra IV|Scroll of Protectra IV]] |
||
| − | |- |
+ | |- bgcolor="#e3e6ff" |
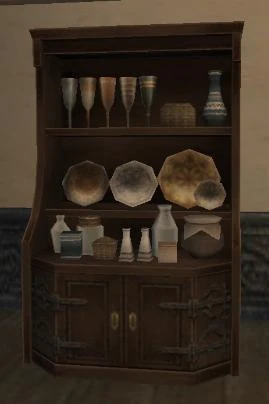
|[[Cupboard]] |
|[[Cupboard]] |
||
|Reputation 5 |
|Reputation 5 |
||
|[[Unexpected Treasure]] |
|[[Unexpected Treasure]] |
||
|12,000 gil |
|12,000 gil |
||
| − | |- |
+ | |- bgcolor="#e3e6ff" |
|[[Dream Coffer]] |
|[[Dream Coffer]] |
||
|Reputation 1 |
|Reputation 1 |
||
|N/A |
|N/A |
||
|[[Gateau aux Fraises]] & [[Candy Ring]] |
|[[Gateau aux Fraises]] & [[Candy Ring]] |
||
| − | |- |
+ | |- bgcolor="#e3e6ff" |
|[[Dream Platter]] |
|[[Dream Platter]] |
||
|Reputation 1 |
|Reputation 1 |
||
|N/A |
|N/A |
||
|[[Buche au Chocolat]] & [[Roast Turkey]] |
|[[Buche au Chocolat]] & [[Roast Turkey]] |
||
| − | |- |
+ | |- bgcolor="#e3e6ff" |
| − | |- |
+ | |- bgcolor="#e3e6ff" |
|[[Dream Stocking]] |
|[[Dream Stocking]] |
||
|Reputation 1 |
|Reputation 1 |
||
|N/A |
|N/A |
||
|[[Candy Cane]] & [[Black Pudding]] |
|[[Candy Cane]] & [[Black Pudding]] |
||
| − | |- |
+ | |- bgcolor="#e3e6ff" |
|[[Desk]] |
|[[Desk]] |
||
|{{Information Needed}} |
|{{Information Needed}} |
||
|N/A |
|N/A |
||
| − | |- |
+ | |- bgcolor="#e3e6ff" |
|[[Galley Kitchen]] |
|[[Galley Kitchen]] |
||
|{{Information Needed}} |
|{{Information Needed}} |
||
|N/A |
|N/A |
||
|[[Goblin Mushpot]], plus many other items. |
|[[Goblin Mushpot]], plus many other items. |
||
| − | |- |
+ | |- bgcolor="#e3e6ff" |
|[[Mahogany Bed]] |
|[[Mahogany Bed]] |
||
|Reputation 5<br> |
|Reputation 5<br> |
||
| Line 79: | Line 79: | ||
|[[The Moogle's Picnic!]] |
|[[The Moogle's Picnic!]] |
||
|Increases Mog Safe capacity to 70 |
|Increases Mog Safe capacity to 70 |
||
| − | |- |
+ | |- bgcolor="#e3e6ff" |
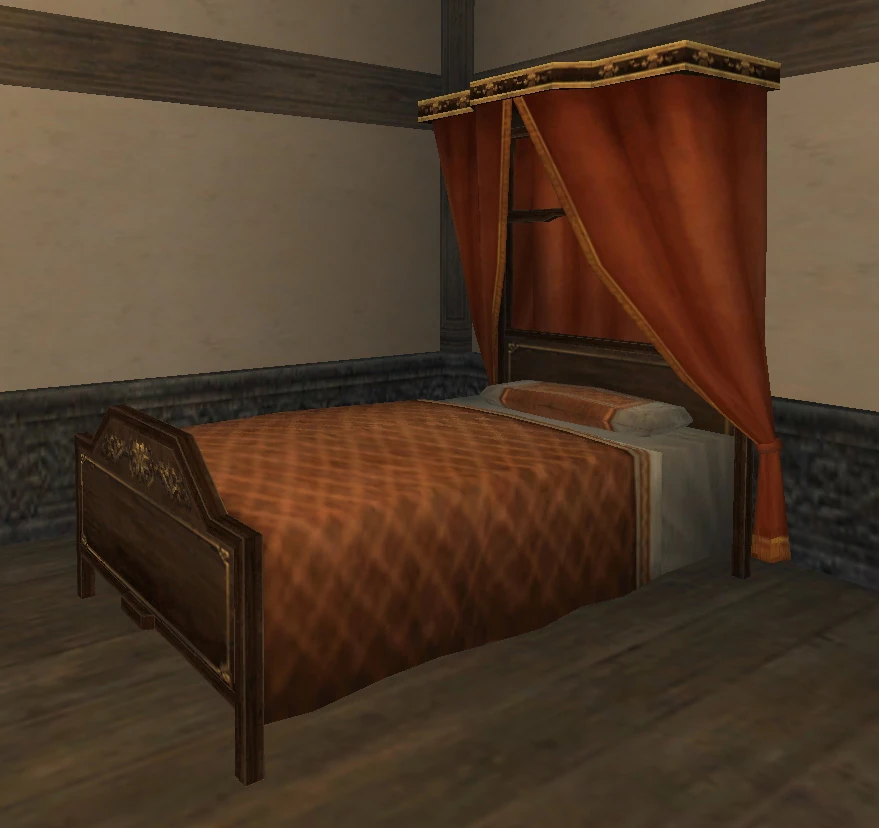
|[[Noble's Bed]] |
|[[Noble's Bed]] |
||
|Reputation 7<br> |
|Reputation 7<br> |
||
| Line 85: | Line 85: | ||
|[[Moogles in the Wild]] |
|[[Moogles in the Wild]] |
||
|Increases Mog Safe capacity to 80 |
|Increases Mog Safe capacity to 80 |
||
| − | |- |
+ | |- bgcolor="#e3e6ff" |
|[[Oak Bed]] |
|[[Oak Bed]] |
||
|{{Information Needed}} |
|{{Information Needed}} |
||
|N/A |
|N/A |
||
|[[Ether]] |
|[[Ether]] |
||
| − | |- |
+ | |- bgcolor="#e3e6ff" |
|[[San d'Orian Tree]] |
|[[San d'Orian Tree]] |
||
|Own a [[Dream Hat]]{{verification}} |
|Own a [[Dream Hat]]{{verification}} |
||
|[[Starlight Celebration]] |
|[[Starlight Celebration]] |
||
|[[Dream Hat +1]] |
|[[Dream Hat +1]] |
||
| − | |- |
+ | |- bgcolor="#e3e6ff" |
|[[Simple Bed]] |
|[[Simple Bed]] |
||
|Reputation 3 |
|Reputation 3 |
||
|N/A |
|N/A |
||
|[[Iron Ore]] x 4 |
|[[Iron Ore]] x 4 |
||
| − | |- |
+ | |- bgcolor="#e3e6ff" |
|[[Stationery Set]] |
|[[Stationery Set]] |
||
|Reputation 2 {{verification}} |
|Reputation 2 {{verification}} |
||
|N/A |
|N/A |
||
|[[Scop's Operetta|Scroll of Scop's Operetta]] |
|[[Scop's Operetta|Scroll of Scop's Operetta]] |
||
| − | |- |
+ | |- bgcolor="#e3e6ff" |
|[[Tarutaru Desk]] |
|[[Tarutaru Desk]] |
||
|{{Information Needed}} |
|{{Information Needed}} |
||
|N/A |
|N/A |
||
|[[Hi-Potion]] |
|[[Hi-Potion]] |
||
| − | |- |
+ | |- bgcolor="#e3e6ff" |
|[[White Jar]] |
|[[White Jar]] |
||
|Reputation 2 {{verification}} |
|Reputation 2 {{verification}} |
||
|N/A |
|N/A |
||
|[[Paralyze Potion]] |
|[[Paralyze Potion]] |
||
| − | |- |
+ | |- bgcolor="#e3e6ff" |
|[[Wicker Box]] |
|[[Wicker Box]] |
||
|Reputation 4 {{verification}} |
|Reputation 4 {{verification}} |
||
|N/A |
|N/A |
||
|[[Horn Quiver]] |
|[[Horn Quiver]] |
||
| − | |- |
+ | |- bgcolor="#e3e6ff" |
|[[Windurstian Tree]] |
|[[Windurstian Tree]] |
||
|Own a [[Dream Hat]]{{verification}} |
|Own a [[Dream Hat]]{{verification}} |
||
|[[Starlight Celebration]] |
|[[Starlight Celebration]] |
||
|[[Dream Hat +1]] |
|[[Dream Hat +1]] |
||
| + | |- bgcolor="#e3e6ff" |
||
| + | |[[Lines and Space]] |
||
| + | |{{Information Needed}} |
||
| + | |N/A |
||
| + | |[[Onyx]] |
||
|} |
|} |
||
[[Category:Side Quests]] |
[[Category:Side Quests]] |
||
Revision as of 17:28, 16 February 2015
Beverage Barrel
Cupboard
Noble's Bed
When placed in your Mog House, certain pieces of furniture can trigger hidden quests (sometimes, certain other requirements must be met as well). The quests can be "active quests", and are listed in your quest log; or "passive quests", that reward you immediately.
- The furniture in question must be placed in the layout of your moghouse. Speak to your moogle and choose "Layout" to place furniture stored in your Mog Safe.
- Certain quests require a certain level of reputation in your home nation before they can be activated.
- If all of these requirements are met, you should (but you may not, due to other factors such as having multiple pieces of quest furniture in your moghouse) receive the quest by talking to your moogle in your moghouse, in your home nation, after the next conquest tally.
- Remember, you must talk to your moogle, not just select "Moghouse" from the menu.
- Furniture Quests cannot be triggered while you are in a Rent-a-Room.
- Only one furniture quest can be activated at a time. If you have multiple pieces of furniture that activate quests placed in your layout, only one will be activated after the conquest tally. You must either remove the other quest furniture, or wait another week for the other furniture quests to activate.
- If your nation places last in the conquest, some furniture quests may not activate.
Here is a list of furniture that will either activate quests, or give you items: