| This Article is a Community Guide |
|---|
| Guides exist as a community effort to help fellow players navigate the game. Opinions and strategies in their content may vary from editor to editor, but feel free to add new or correct out of date information. Guides are subject to the same editing standards of other FFXIclopedia articles. |
Credit goes to authors of previous year's guides, this year's edition reflects the state of FFXI in 2018, where you are soloing this more often than not.
Moogle Locations[]
To begin, talk to one of the Moogles in the starter cities to receive your Ibushi Shinai:
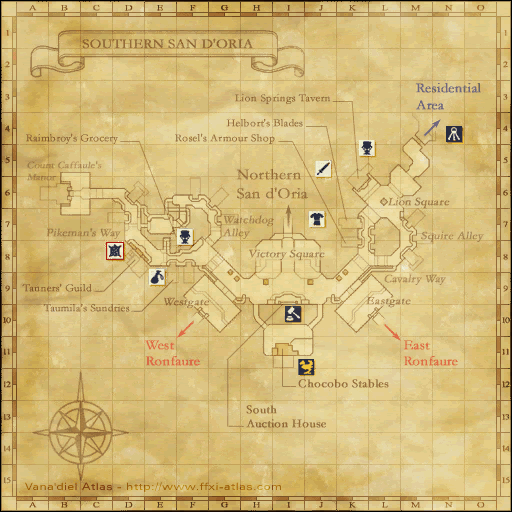
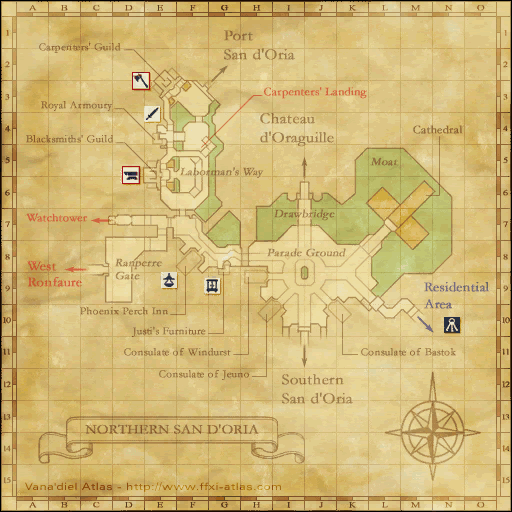
- Southern San d'Oria (J-9) / Northern San d'Oria (D-8)
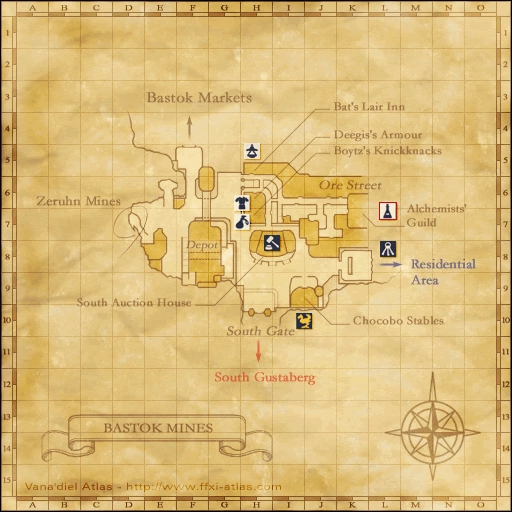
- Bastok Mines (I-9) / Bastok Markets (G-8)
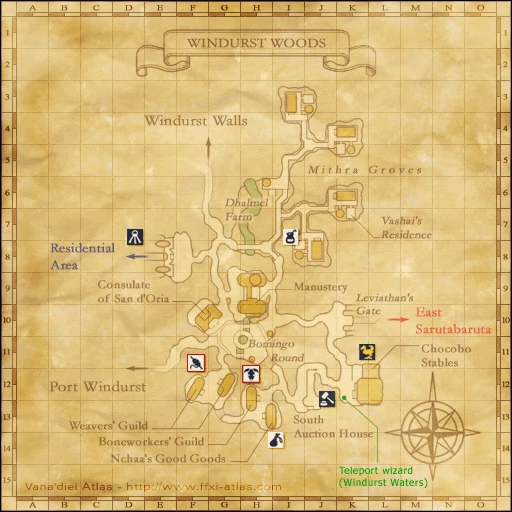
- Windurst Waters (F-5) / Windurst Woods (K-10)

Then go to one of the following areas and speak to the event Moogle:
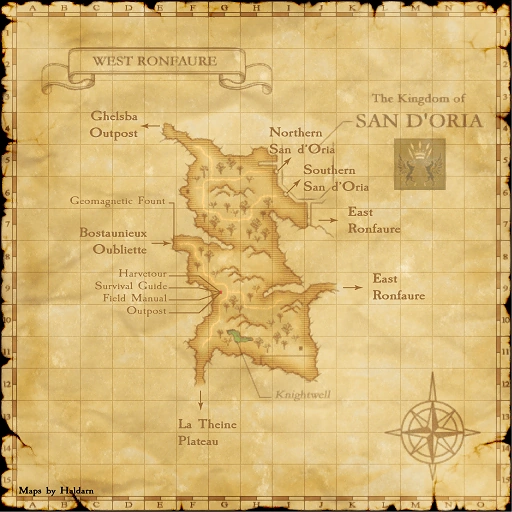
- West Ronfaure (I-6)
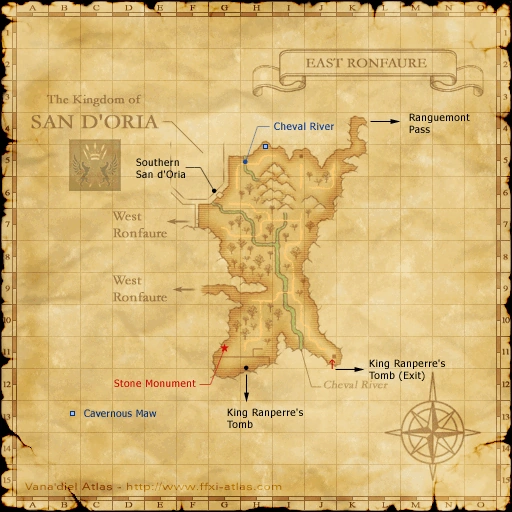
- East Ronfaure (G-6)
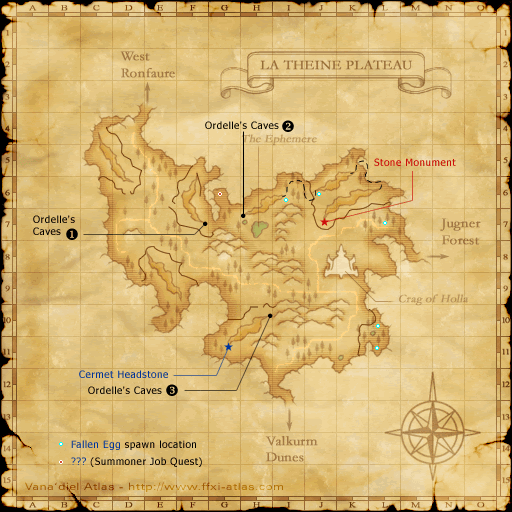
- La Theine Plateau (J-8)
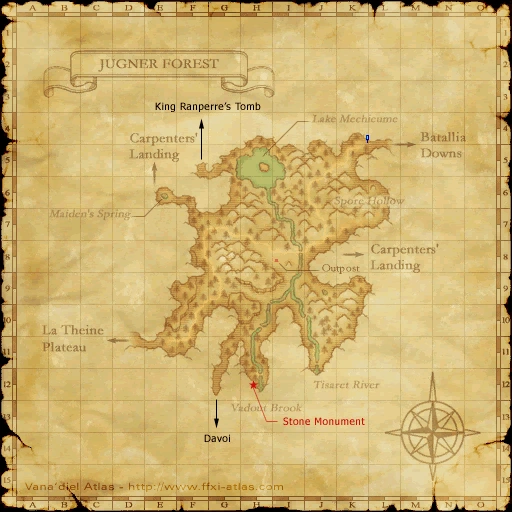
- Jugner Forest (I-8)
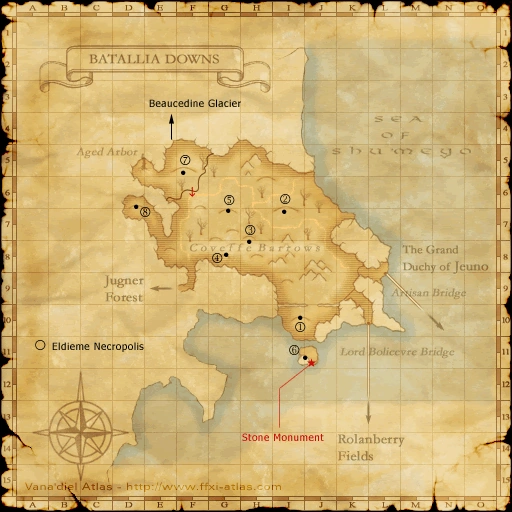
- Batallia Downs (K-8)
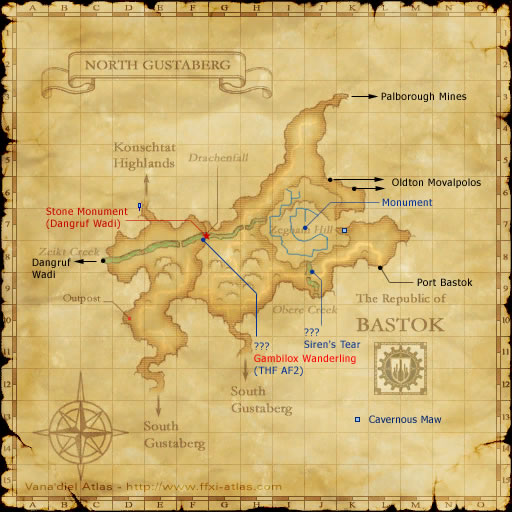
- North Gustaberg (L-8)
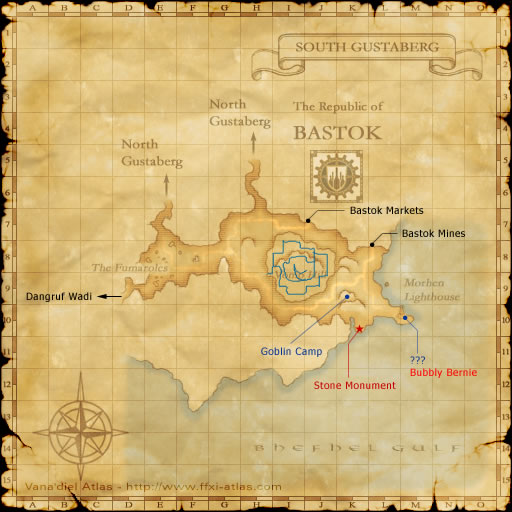
- South Gustaberg (L-8)
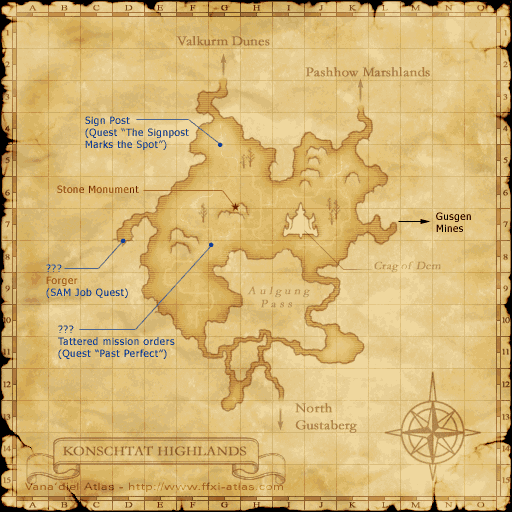
- Konschtat Highlands (I-6)
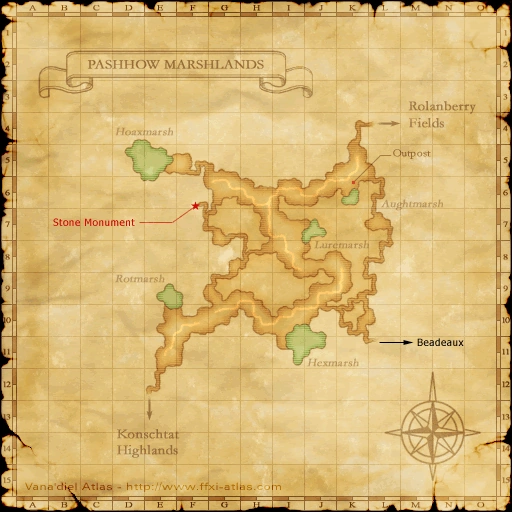
- Pashhow Marshlands (K-6)
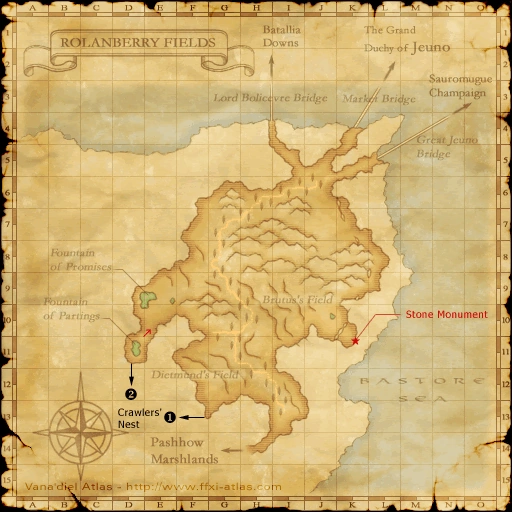
- Rolanberry Fields (K-5)
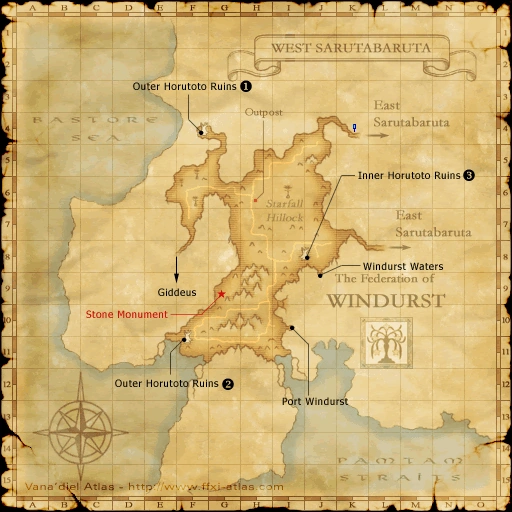
- West Sarutabaruta (J-8)
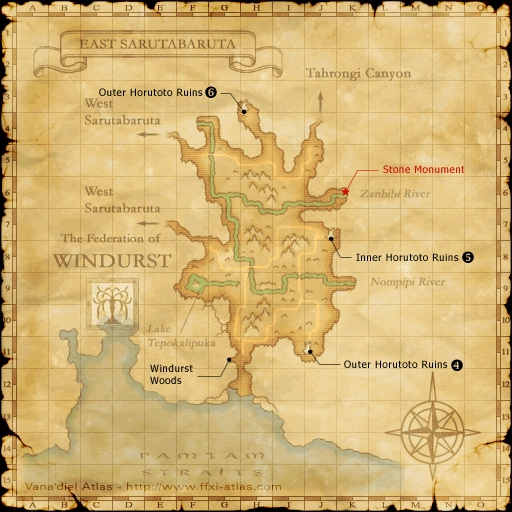
- East Sarutabaruta (-11)
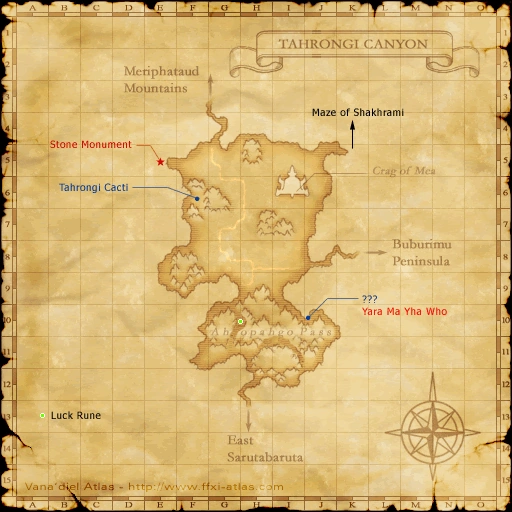
- Tahrongi Canyon (I-6)
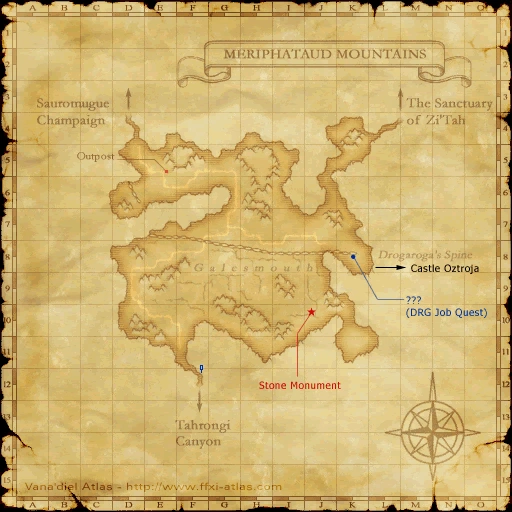
- Meriphataud Mountains (E-5)
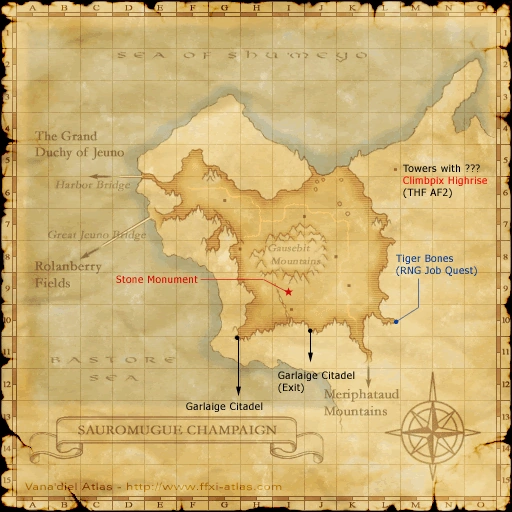
- Sauromugue Champaign (E-5)
This will place you under a level 1 Level Restriction and increase your Movement Speed (any buffs, Trusts or summoned pets will be removed/dismissed). In this state you will be able to engage the mobs for this event; you will not be attacked by or be able to engage regular mobs nor will you lose EXP from dying. In this state, you cannot be assisted by players who are not under the same Level Restriction.
- Under the level restriction, you are still able to access and apply Field Support from Field Manuals, such as Regen and Refresh.
Armors and Malice[]
Your task is to track down one of the armors in the area and absorb "malice" from them. You can only deal damage to the armors through a hidden Enthunder effect on the Ibushi Shinai. No other physical or magical attacks will inflict damage upon the mobs, and they are immune to any other spells such as Dia.
Wide Scan is available to all jobs from level 1, so use it to find the nearest Armor.
After tracking down and engaging the mob it will start to generate TP from its attacks upon you (attacks you make on the mob will not generate TP); after it lands its 8th successful attack it will use either Aetheral Toxin or Edge of Death, which you must absorb by using the enchantment on the Ibushi Shinai.
- Aetheral Toxin has a 2 second activation, so immediately activate your Ibushi Shinai. It may help to macro the activation: [ /item "Ibushi Shinai" <me> ]
- You can outrange Aetheral Toxin but you must already be moving when the Armor readies it for the 'out of range' message to trigger.
- Edge of Death has a 9 second activation, so count out ~5 seconds and then activate your Ibushi Shinai. If you accidentally activate it right away, quickly move to cancel the activation, wait a second or two, and then activate it again. Otherwise, you can run out of range (far enough that your character automatically disengages) to avoid the attack. (40.0 distance range)
- Armors will stop moving for several seconds after readying a TP move, so if kiting to a safe spot don't accidentally disengage when they stop moving.
Successful absorption of malice will give you the message "A protective energy absorbs the malice of your enemy!", and the attack will be completely nullified. The amount of times you absorb a special attack with your Ibushi Shinai determines what tier of rewards you receive an item from.
- You don't have to trade your Ibushi Shinai to the ??? after every battle. It will keep track of how many times you absorb malice, even if you die or zone.
All Armors have 250 HP and do not regenerate health out of combat. At level 1 your melee accuracy is going to be in the low to mid 70% range, so plan to invest minimum 25 minutes of just swinging at it for one to die if you are doing this event solo. Armors respawn immediately after the corpse of the previous one fades out.
After defeating an Armor, unequip your Ibushi Shinai and trade it to the ??? that spawns to receive a reward. The ??? disappears quickly, so ensure that your Ibushi Shinai is not in your Mog Wardrobe or Mog Wardrobe 2, as it can only be traded from your Inventory.
Armor Movement And Behavior[]
All armors move at a significantly increased speed. They move slightly slower than the movement speed enhancement given by the moogle. However, to compensate, when an armor is engaged it is able to teleport directly on top of the current player with the most enmity.
TP moves are selected at random, no armor shows an observable preference for Edge or Toxin.
Omodaka Armor[]
The Omodaka Armor (Mithra) is significantly more powerful than the other mobs, dealing 55~60 damage on each attack, enough to instantly take out any player participating in the event. It is the only mob that will aggro players participating in the event by sight. It is strongly advised to approach with caution; you will probably die very quickly if not immediately. When defeated, the game gives a special message from the moogle for defeating but no special compensation other than normal event rewards and typical malice absorbed.
Her detection range is about 40', and even a larger linking range with other armors. This is usually why it feels like the Omodaka Armor is invisible because she teleports in when within range and starts to kill anyone engaged with another armor.
Safe Spots[]
Efficient completion of this event stems from your ability to fight the Armors uninterrupted by the Omodaka's long reach. Fortunately there are places to fight where she seldom or never patrols. Most of the time these places exist between the outdoor event mooogles and its nearest zone line to a city. For example, the path from the exit from Northern Windurst Waters and the event moogle in West Sarutabaruta is safe. The Omodaka Armor never gets close enough to aggro or link to another armor. This makes it safe to eat food without losing the investment of money and stay engaged with an armor from full health to zero. For historical purposes, other Safe Spots are listed below but require verification:
- South Gustaberg (L-8), about 50' east of the moogle is a good location. Tatenashi Armor (Hume) spawns nearby.
Armor Locations[]
There are five different armors, each corresponding to one of the five races, and they usually patrol a certain region of the map:
| Area | Name | Location |
|---|---|---|
| East Sarutabaruta | Omodaka Armor (Mithra) | Patrols all locations where armor may be found. |
| Hachiryu Armor (Galka) | Patrols lower left region around H-9 | |
| Hizamaru Armor (Elvaan) | Patrols lower right region around I-10 | |
| Tatenashi Armor (Hume) | Patrols mid region around row 7 | |
| Ubuginu Armor (Tarutaru) | Patrols top region | |
| South Gustaberg | Omodaka Armor (Mithra) | Patrols entire zone |
| Hachiryu Armor (Galka) | Patrols west of Vomp Hill | |
| Hizamaru Armor (Elvaan) | Patrols north of Vomp Hill | |
| Tatenashi Armor (Hume) | Patrols southeast of Vomp Hill | |
| Ubuginu Armor (Tarutaru) | Patrols Fumaroles | |
| West Ronfaure | Omodaka Armor (Mithra) | Patrols entire zone |
| Hachiryu Armor (Galka) | H-7, H-8 along the road | |
| Hizamaru Armor (Elvaan) | I-10 | |
| Tatenashi Armor (Hume) | G-9, H-9 around Jaggedy-Eared Jack area | |
| Ubuginu Armor (Tarutaru) | F-7, G-7, G-6, G-5 |
Add patrol ranges for other zones: ![]()
Rewards[]
- 8 pieces of Hume Mochi
- 8 pieces of Tarutaru Mochi
- 8 pieces of Galka Mochi
- 8 pieces of Elvaan Mochi
- Shobuhouou Kabuto - Absorbed 9 TP moves and received this regardless of how many other items were previously received.
You will not necessarily receive the items in the order listed. You will be rewarded the highest-tier item your malice absorption makes you eligible for, so if you are solo, you will likely receive the items in this order: Shobuhouou Kabuto, Kabuto-kazari, Katana-kazari, Shinai, Ibushi Shinai +1, Hardwood Katana, Lotus Katana. Once you are in possession of all the event-specific rewards, you will start to receive the Stables Warp Neck armor corresponding to your current region, and then mochi corresponding to the race of the Armor.
Job and Equipment Choices[]
Jobs that give you DEF, STR, or most stat boosts do not help at all. You will get hit for 1-4 HP regardless. If you are just starting out this event for the first time, Jobs that can Cure and provide a big pool of MP are a solid choice.
- White Mage
- It can help you Cure yourself at least 2 times while you are fighting the Armors.
- You can buy a Copper Hairpin that will give you MP+5, HP-2, so you can use Cure 3 times.
- Black Mage sub job + Melon Pie (+1) - When you do this event as WHM/BLM using melon pies, you will get close to double mp. This allows you to cure yourself and/or other adventurers for around 4 to 5 times.
- Puppetmaster
- Equip Valoredge automaton head and frame with Strobe and both Auto-Repair Kits. It will be able to tank all armors except the Mithra indefinitely. DO NOT equip Shock Absorber, Armor Plates, or Accelerators, as the armor needs to be able to hit the automaton in order to build TP.
Food[]
Curio Vendor Moogles make getting effective food for this event a breeze. Again, if you are just starting out and need a margin of error, food that grants MP for extra cures is a good choice
MP Foods sold by the Moogles:
- Apple Pie: +25 MP
- Pumpkin Pie: +40 MP
Once you are comfortable enough to absorb the majority of Armor TP moves and have settled on a Safe Spot to fight, eating Accuracy Food will significantly reduce the amount of time it takes to defeat an Armor. At level 1 the most cost-effective choice is a Jack-o'-Lantern. +10 Accuracy will double or more than double your melee accuracy, only costs 1,000 gil and lasts 3 hours.
Miscellaneous Tips[]
- You need to do an action on the mob in order to absorb TP moves and receive items from trading the Ibushi Shinai to the ???.
- This event is all about reacting to one of two possibilities in your combat log, so keep it clear of unnecessary clutter like Unity or Linkshell chat.
- Field Support Regen and Refresh are invaluable for keeping your HP and MP topped off should you fail to absorb an attack. Combine this with the effects of a Destrier Beret and you are almost invincible.
- Set your Home Point somewhere near your hunting grounds. Omodaka Armor is eventually going to find you and kill you, and Edge of Death can reduce you to 1 HP, minimize the time you spend re-engaging.
- Armors gain 125 TP per hit and will use a move immediately upon reaching 1000, so be ready to react after the 7th hit (hits for 0 damage do not give TP, so do not count them).