(→Notes) |
No edit summary |
||
| Line 18: | Line 18: | ||
{{question}} |
{{question}} |
||
|<!--Please update all drop rates--> |
|<!--Please update all drop rates--> |
||
| − | *[[100 Byne Bill]] {{Drop Rate| 11| |
+ | *[[100 Byne Bill]] {{Drop Rate| 11|75} |
*[[Fiendish Tome: Chapter 26]] {{Drop Rate| 1|1}} |
*[[Fiendish Tome: Chapter 26]] {{Drop Rate| 1|1}} |
||
| − | *[[Lungo-Nango Jadeshell]] {{Drop Rate| 30| |
+ | *[[Lungo-Nango Jadeshell]] {{Drop Rate| 30|75}} |
| − | *[[Montiont Silverpiece]] {{Drop Rate| 15| |
+ | *[[Montiont Silverpiece]] {{Drop Rate| 15|75}} |
| − | *[[Shadow Mantle]] {{Drop Rate| |
+ | *[[Shadow Mantle]] {{Drop Rate| 41|75}} |
| − | *[[Shadow Ring]] {{Drop Rate| 17| |
+ | *[[Shadow Ring]] {{Drop Rate| 17|75}} |
| |
| |
||
|align="center"|1 |
|align="center"|1 |
||
Revision as of 01:08, 27 July 2011
|
Job: Warrior/Monk/Red Mage/Dark Knight Mega Boss |
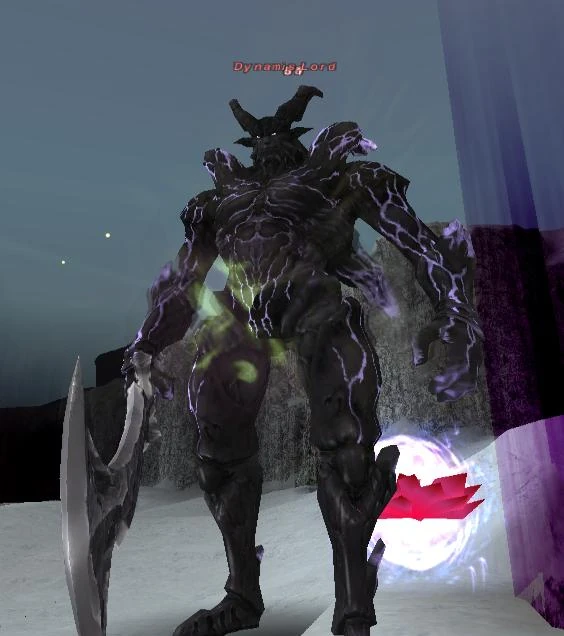 Dynamis Lord |
| Zone | Level | Drops | Steal | Spawns | Notes |
|---|---|---|---|---|---|
|
|
|
1 | A, L, T(S) | ||
|
HP = Detects Low HP; M = Detects Magic; Sc = Follows by Scent; T(S) = True-sight; T(H) = True-hearing JA = Detects job abilities; WS = Detects weaponskills; Z(D) = Asleep in Daytime; Z(N) = Asleep at Nighttime; A(R) = Aggressive to Reive participants | |||||
| Special Attacks: |
| Transfusion: AoE Drain |
| Mana Storm: AoE Aspir |
| Tera Slash: Cone Attack high damage, ignores Utsusemi |
| Violent Rupture: AoE damage with Knockback and Weight that overwrites Flee, absorbed by multiple Utsusemi shadows |
| Oblivion Smash: Extreme AoE damage, absorbed by multiple(2-3) Utsusemi shadows |
| Dynamic Assault: Single target physical damage |
| Dynamic Implosion: AoE physical damage and Stun |
| Two Hour Abilities: |
| Hundred Fists |
| Mighty Strikes |
| Blood Weapon |
| Chainspell |
| Magic: |
| Bindga |
| Slowga |
| Silencega |
| Dispelga |
| Breakga |
| Sleepga |
| Death |
| All tier 3 -ga spells |
| Note: these spells all have near instant casting time |
Notes
- Spawns at the Castle Zvahl by trading a Shrouded Bijou to the ??? there.
- The following information is outdated as of the May Version Update and will need to be updated:
- The Dynamis Lord behind them is invulnerable to all magical and physical attacks until Ying & Yang are both defeated.
- Ying & Yang must be defeated within 20 seconds of each other, or they will revive at full health.
- At some point, the Dynamis Lord will revive Ying and Yang. The Dynamis Lord will not regain the immunities and Ying & Yang will perish if the Dynamis Lord is defeated.
- If all the player characters are defeated, Ying & Yang will move to the castle entrance with the Dynamis Lord, side by side.
- They will attack whomever the Dynamis Lord is attacking, and will be summoned again even after being defeated.
- Ying & Yang share the enmity with the Dynamis Lord, making them extremely difficult to take away for long enough to finish the fight without major casualties.
- The Dynamis Lord can create copies of itself while using special abilities, shifting its place causing target lock to be released. These copies will perish soon afterwards.
- Unlike other Dynamis bosses, defeating the Dynamis Lord does not grant a time extension.
- May drop both the shadow ring and the mantle at the same time.
- Examining the ??? left behind by the Dynamis Lord will grant the key item Hydra Corps Battle Standard and the title Dynamis - Xarcabard Interloper for winning Dynamis - Xarcabard.
- For those belonging into the alliance defeating the Dynamis Lord will additionally obtain the title Lifter of Shadows.
- Can be defeated by around 10 characters at around levels 70-75.
(See Strategies and Testimonials)
Video
See the Video page.